Showing posts with label 2459. Show all posts

Monday, July 1, 2013

Simplicity 2459 - Dress and Bodysuit - Part 2

Bodysuit

Part 1 - The Dress - is here.
 
Finally, we come to the bodysuit.
I'm still a beginner when it comes to knit fabrics so I wasn't really sure if this one would work out.  Thankfully, it was fairly simple and quick to make.

Knit fabrics require a different sewing machine set-up to woven fabrics.  I use a ballpoint needle and a roller foot - it's just like a little roller skate for sewing machines!


I also use a stretch nylon thread called Resilon.  It's wonderful stuff but a little bit temperamental at times.  It is very slippery so it tangles easily and unravels at every opportunity.


After sewing the back seam, we attach the sleeves and then sew up the side seams.


It's looking more like a bodysuit now...


Next comes the collar.  The pattern has a Peter Pan collar but I just couldn't make it work.  The fabric went all wavy and it just didn't look right.


I decided to ad lib with some more georgette and a piece of binding made from the knit fabric.  I cut a strip of georgette, made a rolled hem on both sides and folded it over so that the top ruffle was about 2 cm shorter than the bottom.  I then put the fold through the overlocker to create some ruffles.

The ruffles are attached to the body with a strip of binding and voila - a very frilly neckline!

 Next, we add the leg bindings and the snaps at the bottom.  I had a bit of trouble attaching the snap tape to the bodysuit because it was so fiddly.  To solve the problem, I tacked the tape by hand and then sewed it with the machine.


And there we have it - a lovely frilly bodysuit!
The pattern requires a button and loop at the back and this tutorial from Ysolda really came in handy.


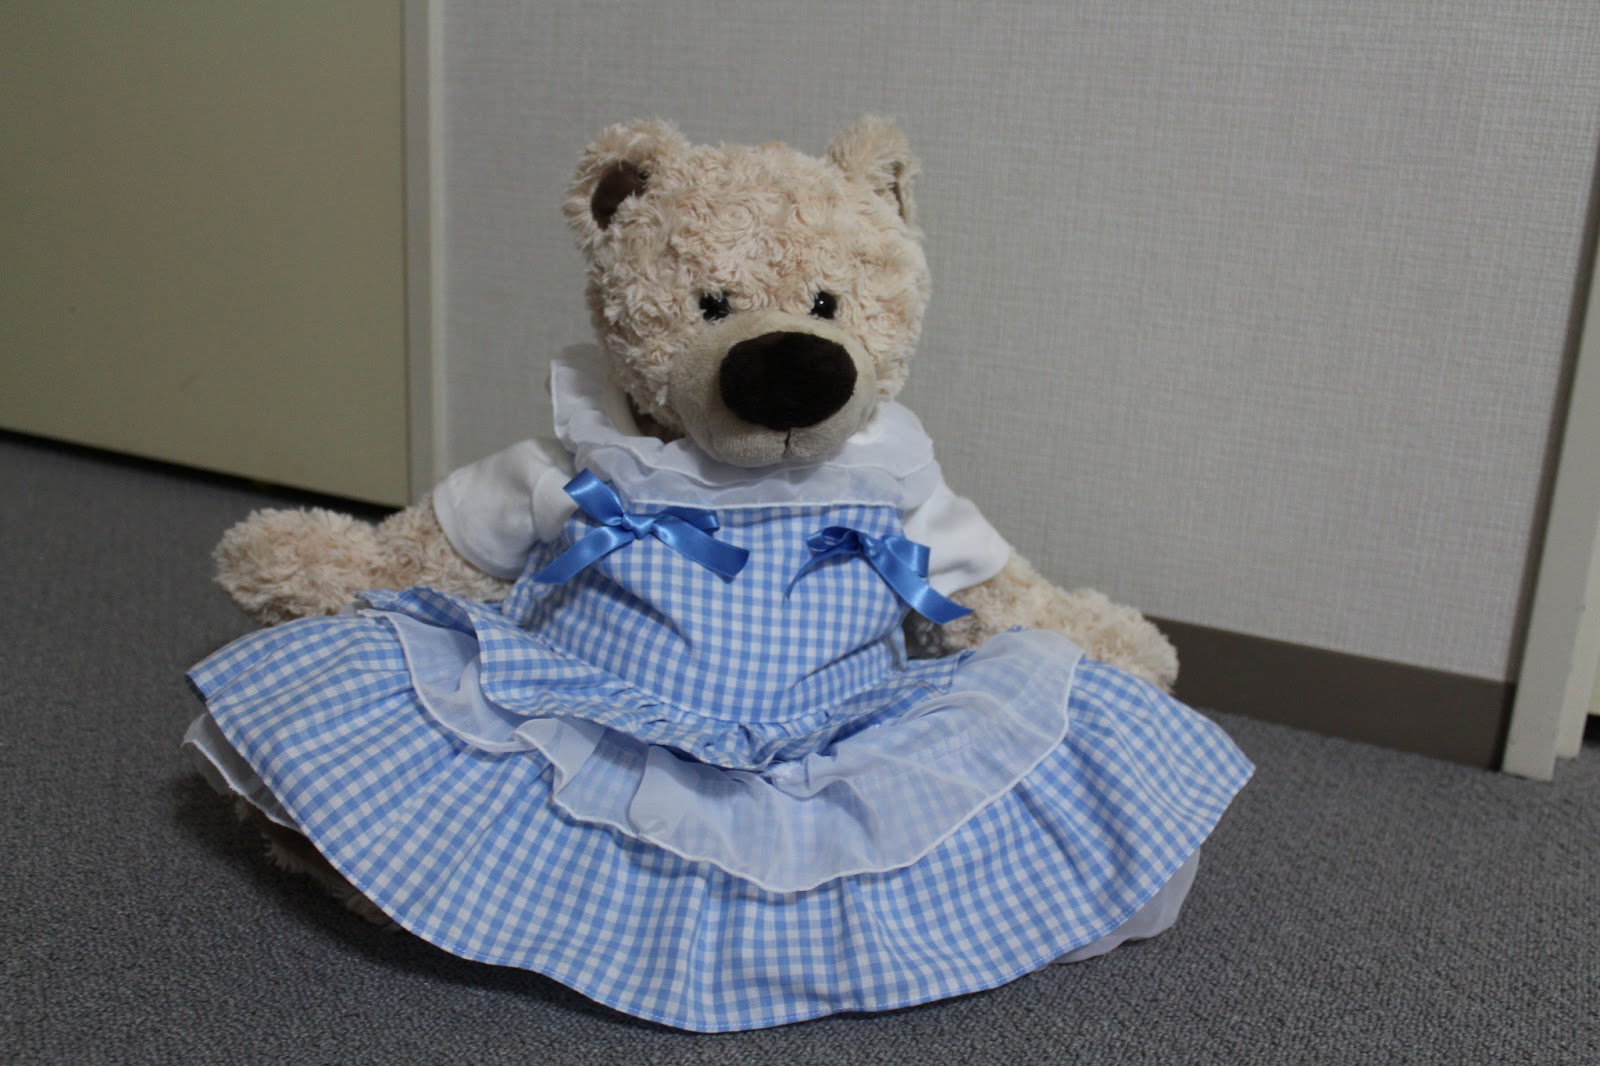
Our resident teddy fashionista, Taro, insisted on trying on the whole ensemble.

Sunday, June 30, 2013

Simplicity 2459 - Dress and Bodysuit - Part 1

The Dress

I bought this pattern about two years ago when my daughter was still a baby.  Unfortunately, by the time I got around to sewing it she was too big.

Thankfully, my sister now has a gorgeous baby girl so the pattern won't go to waste. Hooray!

Isn't that frilly dress sweet?

As always, I went to sewing.patternreview.com before starting the project to see what the other reviewers thought.  One lady said that it was very heavy due to the large amount of eyelet lace so I decided to go off piste and use something a bit lighter - some white georgette combined with blue gingham. 


As the name suggests, the pattern really is simple and the instructions are easy to understand. We start off with the straps (chopsticks really come in handy for pushing out the corners!)


The only thing I don't really like about Simplicity patterns is they don't include many finishing touches.  I topstitched both the straps and bodice 'cos that's how I roll.

Here is the bodice back with the straps attached.


Next comes the most labour-intensive bit - the ruffles.  For the gingham ruffles, I used my new toy; a narrow hemmer foot.

 It took a little while and quite a few scraps to figure out how to use it but once I did, wow!  No ironing necessary.  This is my new favourite presser foot.


There is one thing I hate almost as much as ironing - gathering.  I decided to be sneaky and use the differential feed on my overlocker to do the gathers.  So far, so good.


 Next, the georgette ruffles.
 First, a lovely rolled hem on the bottom edge of each ruffle.


 Then some gathering on the top edges.


I used my overlocker to save time on making the ruffles but the gingham ruffles ended up too loose and the georgette ruffles were too tight.  I guess I need to work on tweaking the overlocker settings to get them just right.  With some persuasion (gently stretching the georgette and gathering the gingham again) everything worked out.


This is the skirt section with the ruffles attached.  The georgette ruffles were a bit shorter than expected.  I thought the hem and seam allowances would be enough to compensate for the length of the eyelet lace but I was wrong.  If I sewed this dress again, I would add around 2 cm to the bottom of the georgette ruffles to make everything match up.


Here is the skirt attached to the bodice.  The pattern calls for two buttons for the straps and two buttons on each side of the bodice.  Based on my experience as mother to extremely wiggly little girl, I decided to use snaps on the sides instead of buttons.  There is no way a baby is going to stay still while you try and do up six buttons!

Finally, add some bows on the front and we are done!

From the front:

And the back:

Next up: The Bodysuit