

I wanted to make a cover for my knitting machine and started thinking - where can I get long strips of fabric? Hmmm... Then the lightbulb went on.
Yes! I can use those old maternity jeans in my closet.
This is how you transform old jeans into a cool new cover for your knitting machine.
Materials
You will need:
 One 180 cm zipper with two sliders that meet in the middle
Thicker contrasting thread for topstitching
Note: This pattern is designed to fit a standard gauge Brother machine (H10 x W106 x D23 cm)
The fit is baggy enough to include the handle and the clamp fittings on the bottom. If you prefer a tighter fit, adjust as necessary. As we are using reclaimed fabric, the fit may vary.Cutting
Step 1
 Unpick the inner and outer leg seams so the front and back of the jeans are separated. This takes a bit of time so be patient!
Step 2
Download the pattern pieces here. Print them out, cut out the pieces and stick them together with tape.
*A 1 cm seam allowance is included in all pieces.*
Pin the pieces to the fabric, following the grain wherever possible. The side pieces are the biggest so it's a good idea to use the back side of the jeans because it has more fabric ('cos that's where your bottom goes!).
Cut out the pieces and then overlock/serge everything. Denim frays easily so this is an important step. If you don't have an overlocker, you can use zig zag stitch or overcast stitch on your sewing machine. This is what you end up with (minus the optional velcro tab.)

Sewing
Step 3First up, sew the side pieces together (the squared off sides, not the rounded ones.) Press the seam open and then do some decorative topstitching approx. 5 mm from each side of the seam with your contrasting thread. A 3.5 mm stitch length is just right.
If you wish to embroider a design on the side pieces, now is the time to do it. Don't forget about the 1 cm seam allowance.

Do the same to the bottom and zipper band pieces.

This is what the stitching looks like up close.

You now have five large pieces plus the optional velcro tab.
Step 4
We sew!
Pin one side piece to one zipper band piece, right sides together. Make sure there is enough fabric to go around the corners. The seam in the middle is the top where your machine's handle will be.
Start in the middle (where the centre seam is) and sew around and down to the bottom. Leave the last 2 cm of the seam unstitched. Don't worry if you forget, can always unpick it. Start in the middle again and sew down and around the other side.
The centre seam gets pretty thick so if your machine is having trouble feeding the fabric, just give a gentle pull toward the back between stitches to help it through.

Do the same with the other side piece and zipper band piece.
Go slowly when sewing around the corners, stopping to lift the foot and adjust the fabric every few stitches. Make sure that the edges of the fabric meet and that there is no extra fabric getting caught in the seam. The zipper band is longer than necessary so don't be afraid to give a little extra fabric in the corners.
Now is a good time to try it on for size. Pop one of the pieces on your machine to see how it fits. Adjust if necessary.
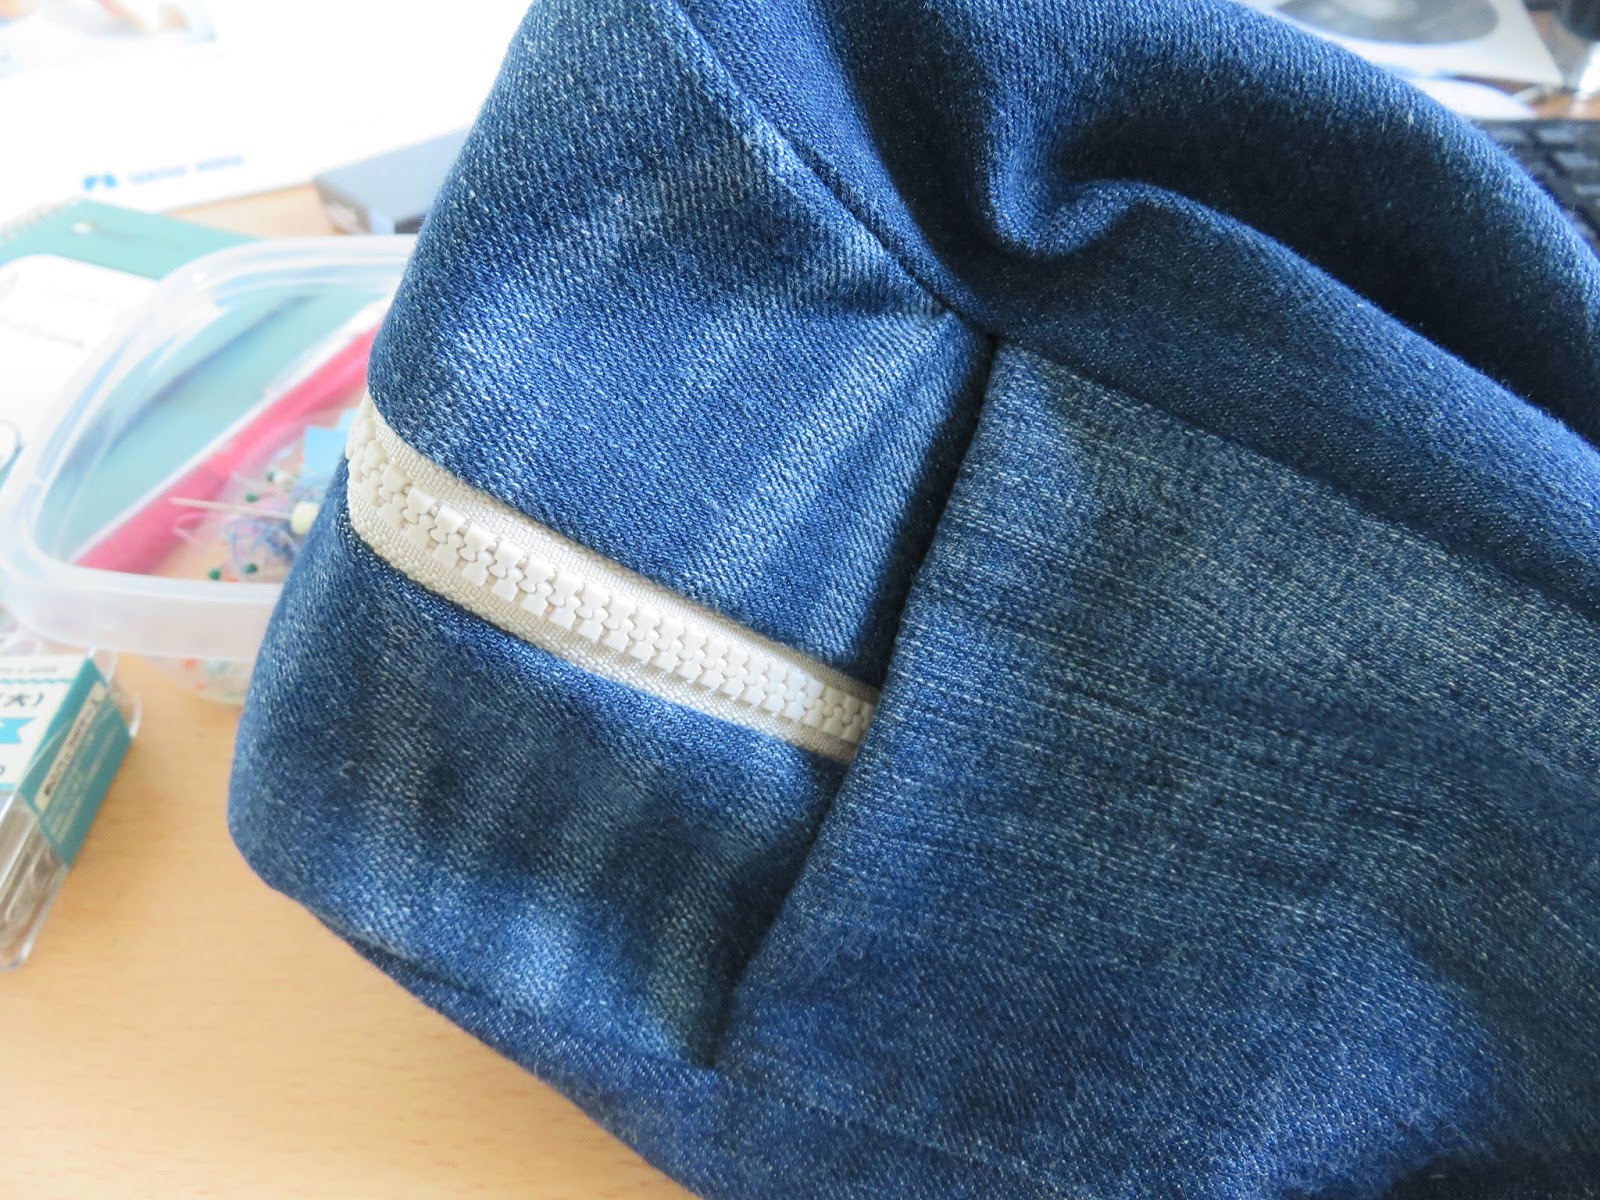
The finished zipper band (with zip) should be approx. 10 cm in width.

Attach the zip. Mark the centre of the zip and place the mark on the centre seam. Place the zip face down on the zipper band, right sides together. Don't worry if the zip is longer than the zipper band, that's OK.
Use your zipper foot and sew in one side of the zip. The zip in the picture is upside down, right sides together.

Pin the other side of the zip to the zipper band on the other piece. Again, line up the centre mark on the zip with the centre seam. Sew.

Step 6
Attach the bottom piece.


The bottom piece is also longer than necessary so you will have some extra fabric at the ends.
If you turn it out to the right side, it should look like this. Adjust if it looks a bit wonky. We'll make it look a bit nicer when we do the finishing.
So now we have our basic knitting machine bag done. It looks OK but lacks a certain something.

In part 2 of this tutorial, we add the finishing touches and make the optional velcro tab.
No comments:
Post a Comment