Snip snip (choki choki)
So here we go - the pieces are ready to be pinned to the fabric and we are one step closer to the fun bit.
Little Miss went down for a nap this afternoon and I sprang into action. First, let's have a look at the fabric layout for the shirt.
Right, so the layouts for the shirt are different according to the size of the garment and the width of the fabric. I am making size 3 with 115 cm fabric so 4A is for me. Some of the pieces are coloured light grey but it didn't show up well on my print-out, hence the scribbles in pen.

So here's what it looks like IRL. The fabric has been folded vertically and the selvedges are together at the bottom of the picture. The arrows on the pieces mean that the piece has to be cut on the grain - the arrows must be parallel with the selvedges. Two of the pieces are placed printed side down to make the layout more compact and to use the fabric as economically as possible.
And don't forget the notches. These triangular marks are useful for matching up pieces when you are sewing. I used to cut out the little triangle but ended up with tiny fabric triangles everywhere. Now I just snip and be done with it.
And the layout for the pants (also known as trousers.)
The tank top front...
...and the tank top back.
Once you have cut out all the pieces, you can breathe a sigh of relief and admire your handiwork. I am rubbish at cutting out curves so I usually cut generously around curved bits and trim once the piece has been cut out. This is particularly useful for knit fabrics which have the annoying habit of stretching while you are cutting.
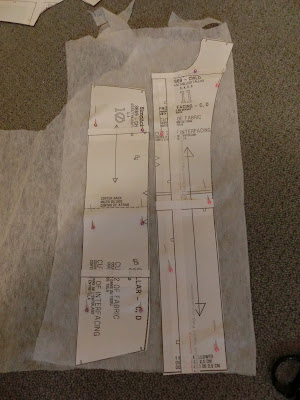
And it looks like I have just enough iron-on interfacing to get the job done. Hooray! These bits are for the collar and the button placket.
Little Miss woke up five minutes after I packed up everything. All in all, a good afternoon's work.
Next: The Urge to Serge


No comments:
Post a Comment